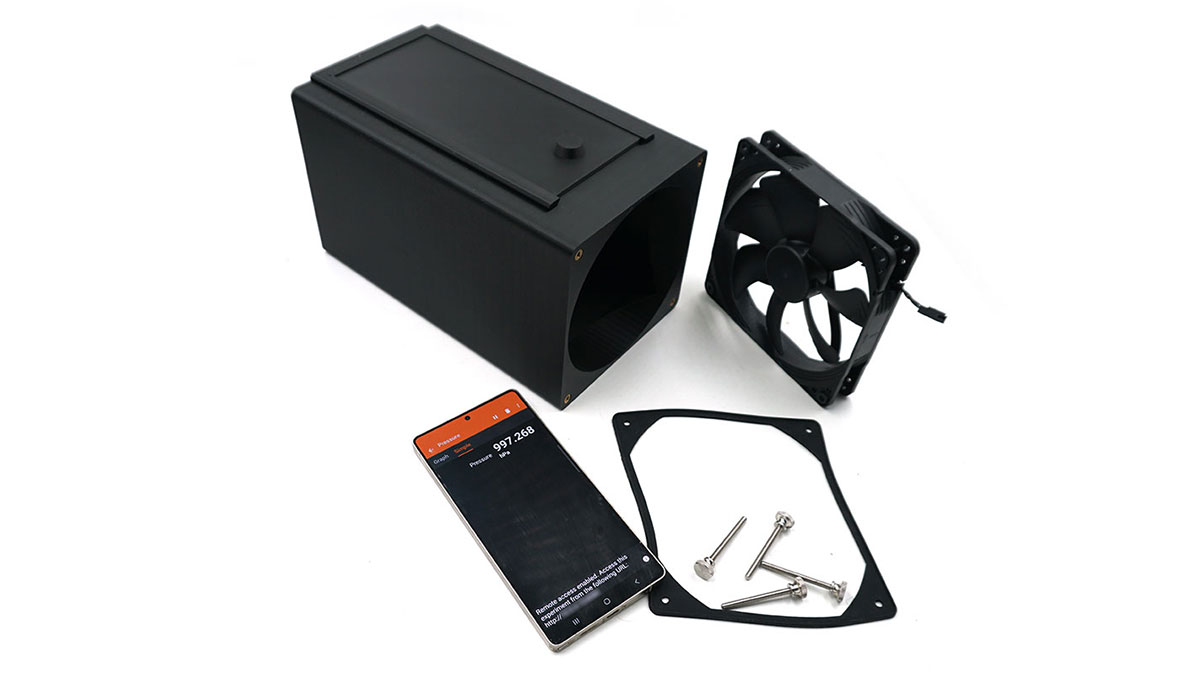
What you need
- A 3D printer and filament (PLA or PETG for the plenum and cover).
- A fan gasket. A commercial silicone fan gasket is strongly preferred: it seals better, compresses evenly, and lasts far longer. Only as a last resort, print one in 90A Shore TPU or softer (the builder generates one sized to your fan).
- The 120 mm or 140 mm fan you want to test.
- A 12 V supply for the fan (a bench supply, a 12 V adapter, or a PWM controller for set speeds).
- An Android or iOS phone with a barometer, running phyphox (free, from RWTH Aachen).
- M4 self-tapping screws, or heat-set threaded inserts plus M4 machine screws for a plenum that survives many fan swaps (recommended: self-tapping screws will eventually strip the plastic).
How to measure
Build the gauge, run the fan against it, and read the pressure at three door positions. Work fast: each measurement run should take under about 30 seconds.
1Build and print the box
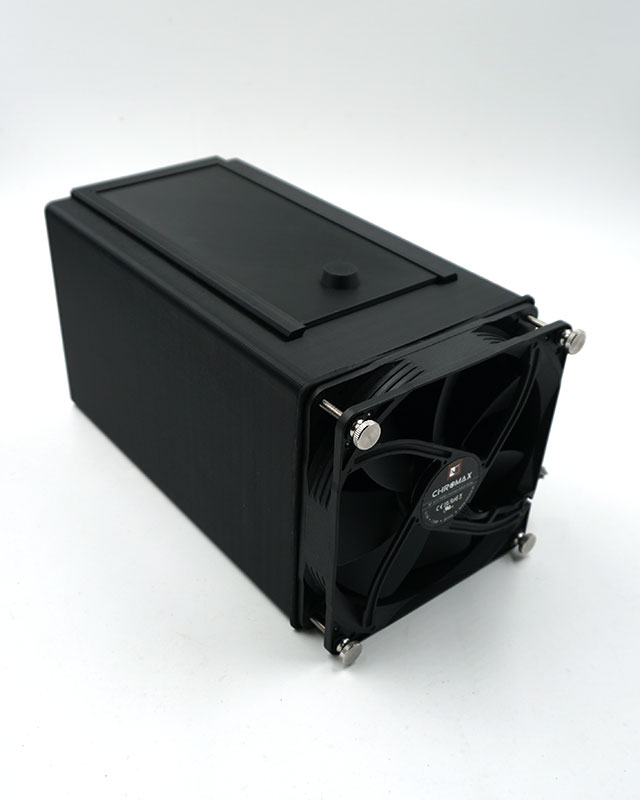
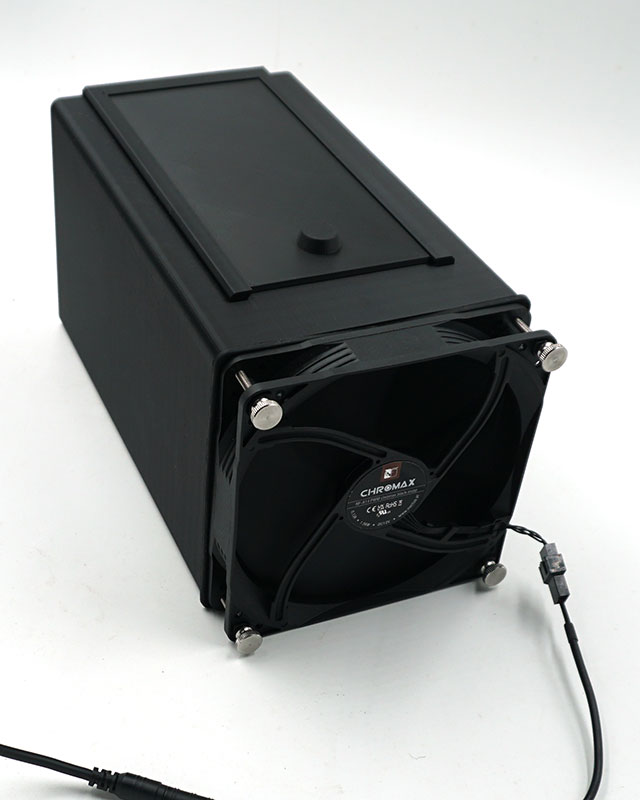
Open the Plenum Builder. Choose your fan size (120 or 140 mm), then use the Part dropdown to export each STL: Plenum (the box), Dovetail cover (the sliding door), and Fan gasket. A live print estimate (dimensions and filament) shows for each part. Everything prints support-free: plenum upright with the fan opening up, cover flat, gasket flat. Print the gasket (in soft TPU) only if you cannot get a commercial silicone one, which is strongly preferred.
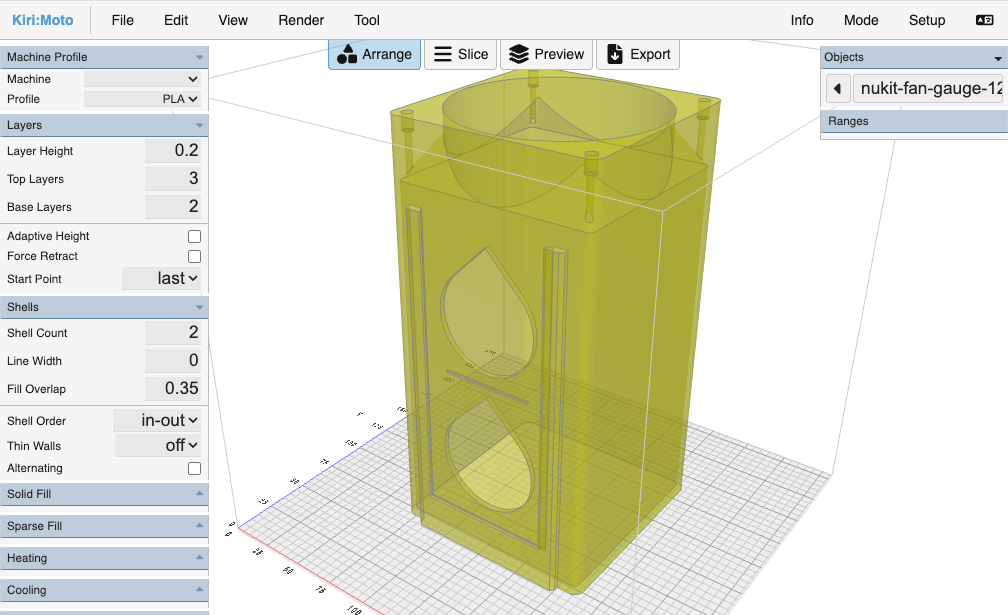
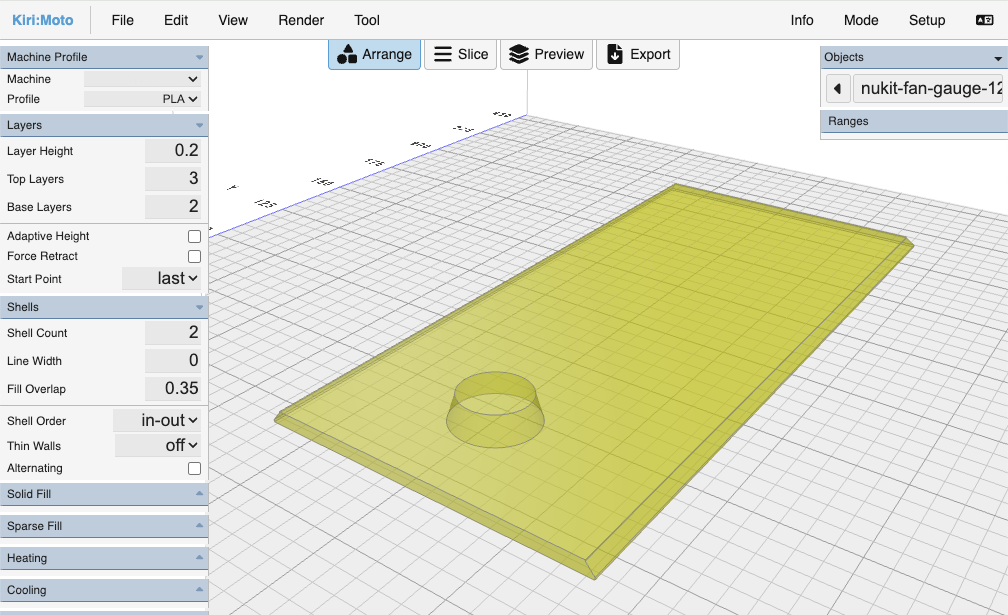
A well-fitted door provides the best seal and holds by friction alone: you should be able to turn the plenum upside-down and shake it gently without the door falling out. If it does, print additional doors, adjusting the door-fit sliders between them, until one slides on smoothly but firmly and stays in place. If you want heat-set inserts, enable Heat-set threaded inserts and set the seat diameter and depth to match your inserts (the tooltips explain the sizing).
2Set up phyphox
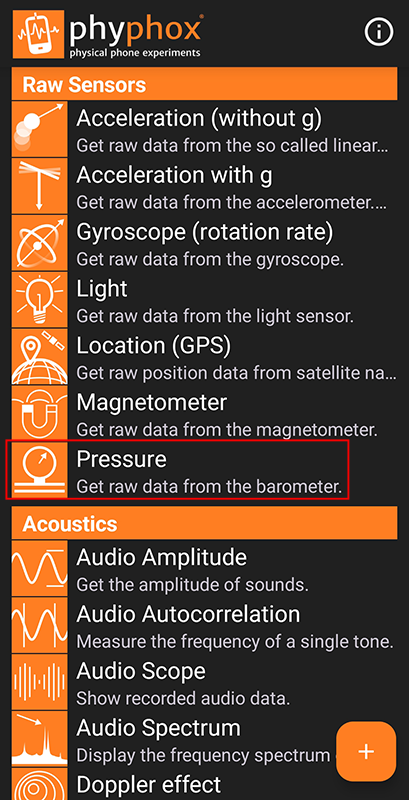
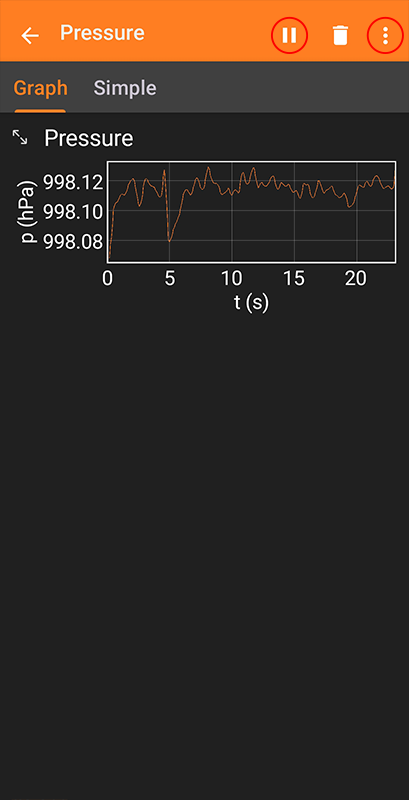
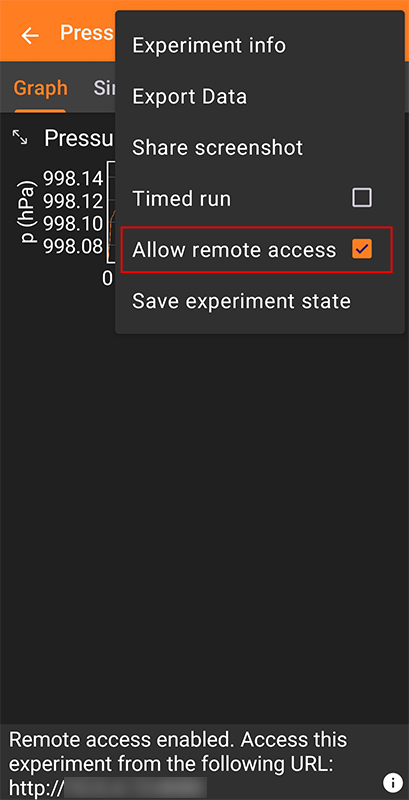
On your Android or iOS phone, open phyphox, choose Pressure, press play, and turn on Remote Access. Note the IP address it shows, and confirm you can open that page from another device's browser on the same Wi-Fi network (it will not work over mobile data).
3Assemble
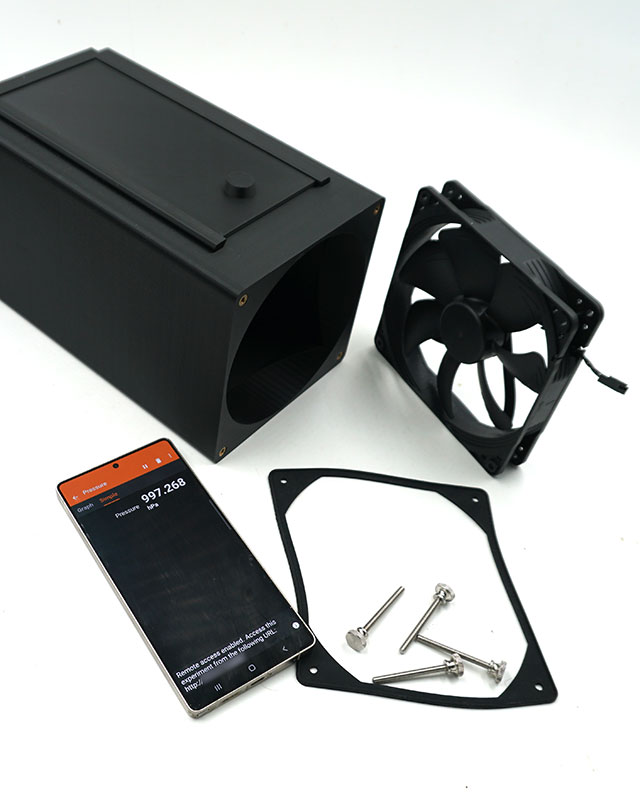
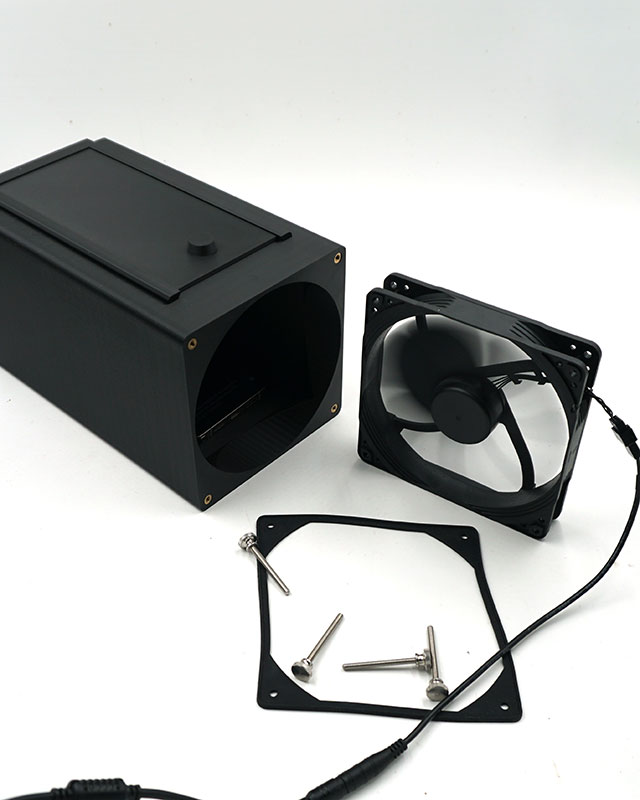
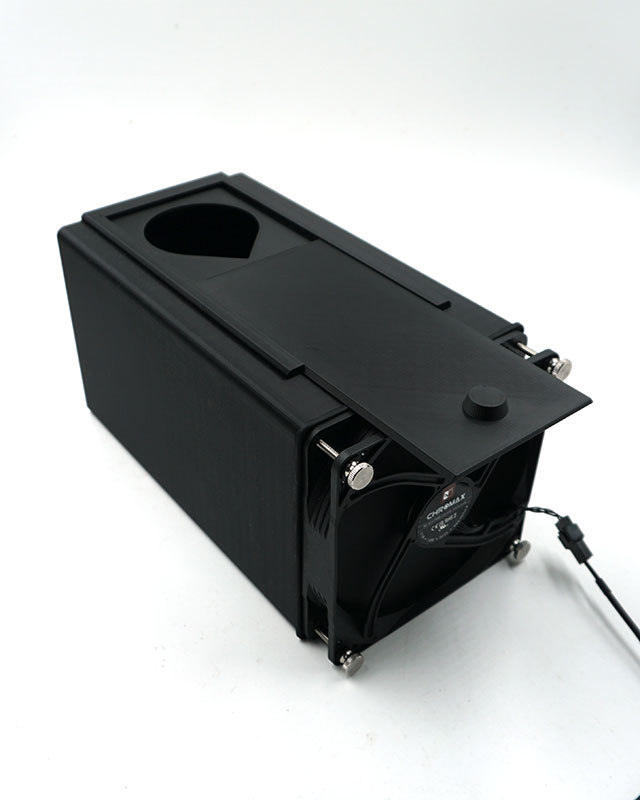
Plug the fan into your supply to confirm it spins. Lay the plenum on a flat, stable surface with the ports covered and facing up. Place the phone inside, then screw the fan and gasket on so the fan blows outward. Check that the sliding door opens and closes fully and is not blocked by the gasket.
4Take the readings
The barometer drifts constantly, so work fast and write down the center of the range the reading cycles through. Do not wait for it to settle.
- Baseline: fan off, read the ambient pressure (hPa).
- Closed: fan on, wait about 10 s for full speed, read.
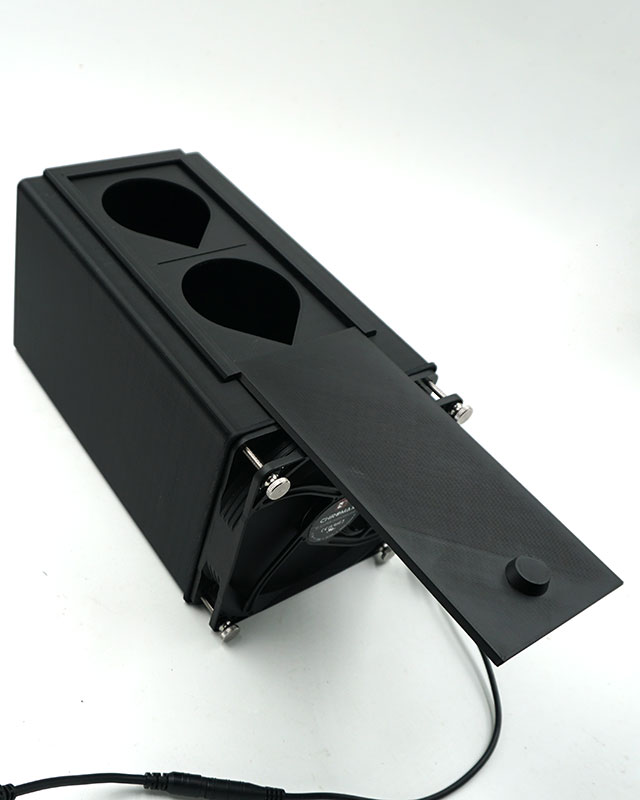
- 1 port: slide the door to the debossed line, wait about 5 s, read.
- 2 ports: open the second port, read.
5Read the result
Set the same fan size in the calculator below and type the four readings into the fields. It shows the estimate: dead-head static pressure (mm H₂O and Pa) and free-air flow (m³/h and CFM), plus the plotted curve.
The calculator
Enter your readings
Fill in the four pressure readings you took above. The estimate and P-Q curve update as you type.
1Test fan size
2Baseline (fan OFF)
3Readings (fan ON, suction)
Advanced: calibration & comparison
4Calibrate the plenum (optional)
5Fan under test, compare to Cybenetics (optional)
Results
| Position | ΔP (mm H₂O) | ΔP (Pa) | open ⌀eq | flow (m³/h) | flow (CFM) |
|---|